Creating An Event
 Updated
by Kyle Morlack

Overview:
This page will guide you through the entire process of creating an event.
Feel free to experiment with the different settings when creating an event. This is the time to explore how the different selections will impact your registration flow!
Instructions:
Create your Event:
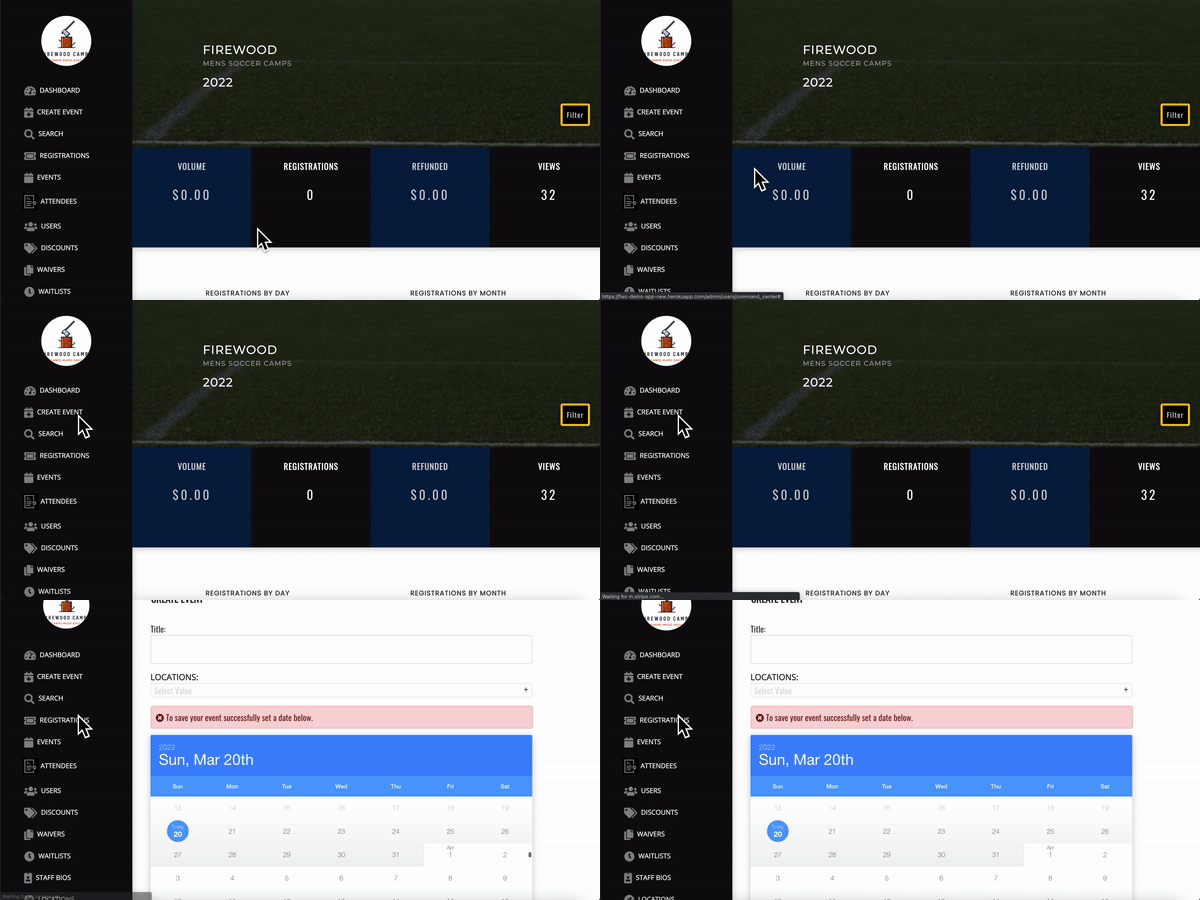
To start, click on the "Create Event" tab found on your Admin Dashboard.
Title:
This is the event title your customer will see when visiting your website to register.
Informative and concise titles work best.
Location:
We recommend adding your locations to our system before creating your first event. Instructions for doing so can be found on our Adding a Location HelpDoc.
Use the smart location select field to add previously uploaded locations to your event.
Be sure to verify all locations have full addresses input. This will provide easy-to-use Google Maps links to your registration success and locations index pages.
Selecting Your Dates:
Found below are the different Firewood event types you can choose from.
Each has a different way to successfully set event dates.
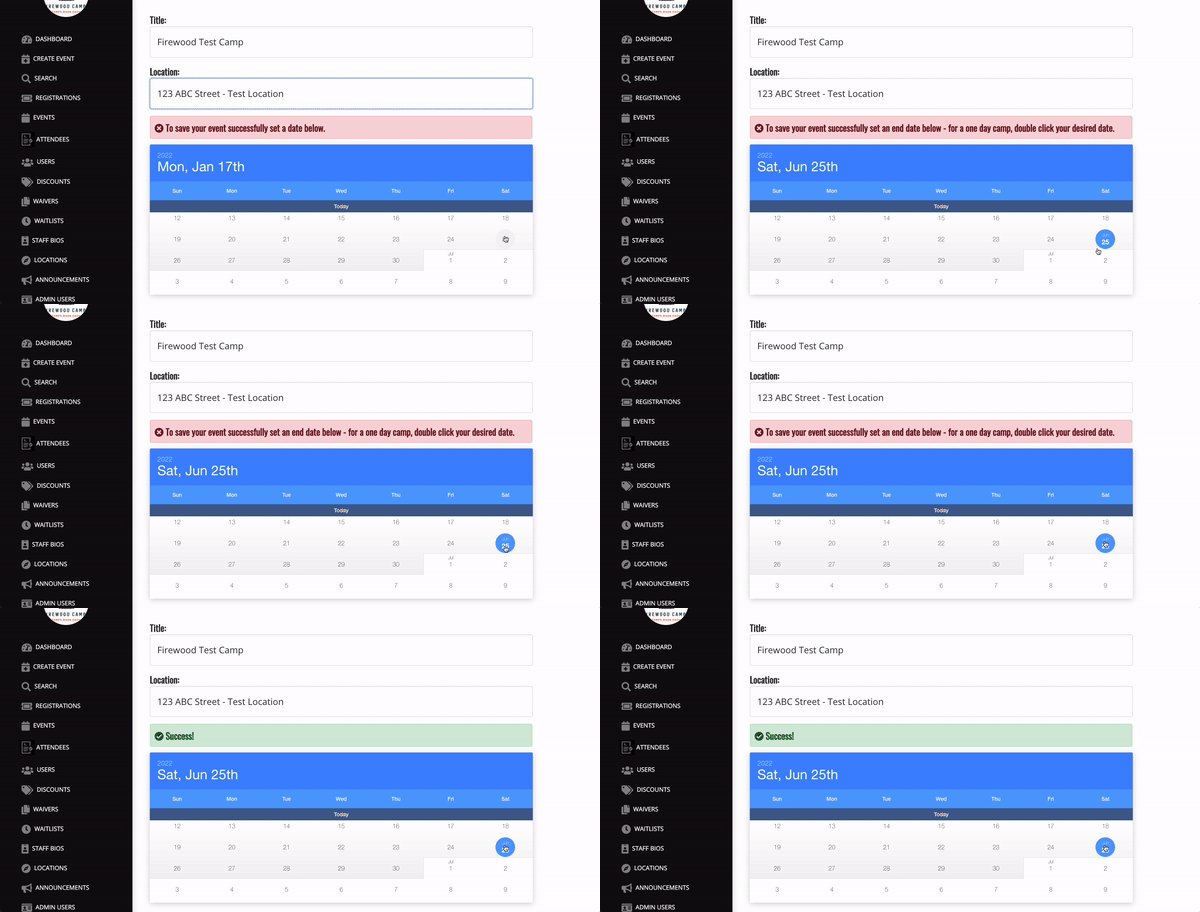
One Day Event:
Click the date once to initially select it - click it again to confirm.
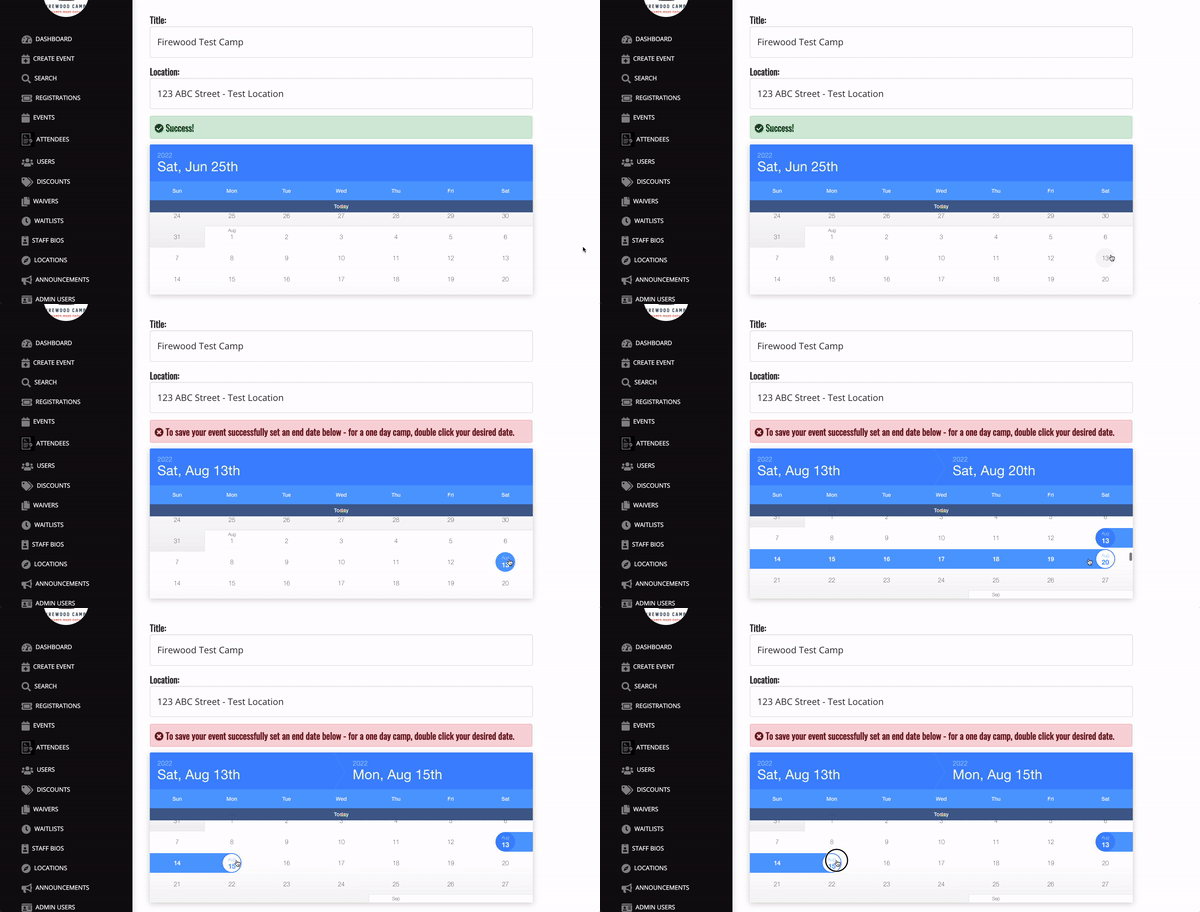
Standard Date Range Selection:
For events spanning multiple days, your first click sets the event start date - your second click sets the event end date.
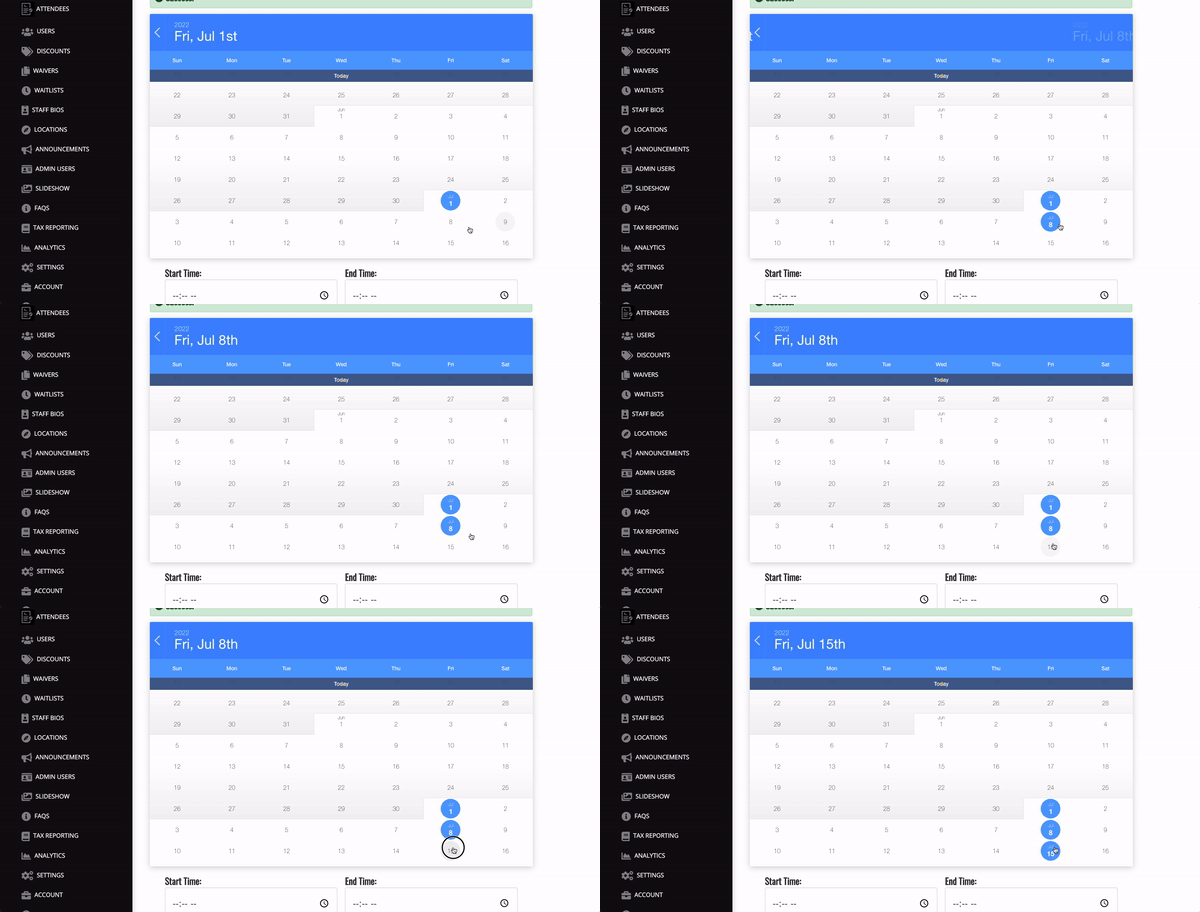
Sessions / Events On Non-Consecutive Days:
This is for events spanning days that are not consecutive (think training sessions every Friday for a 3-week period).
Simply click each of the dates sessions are taking place.
Price Points:
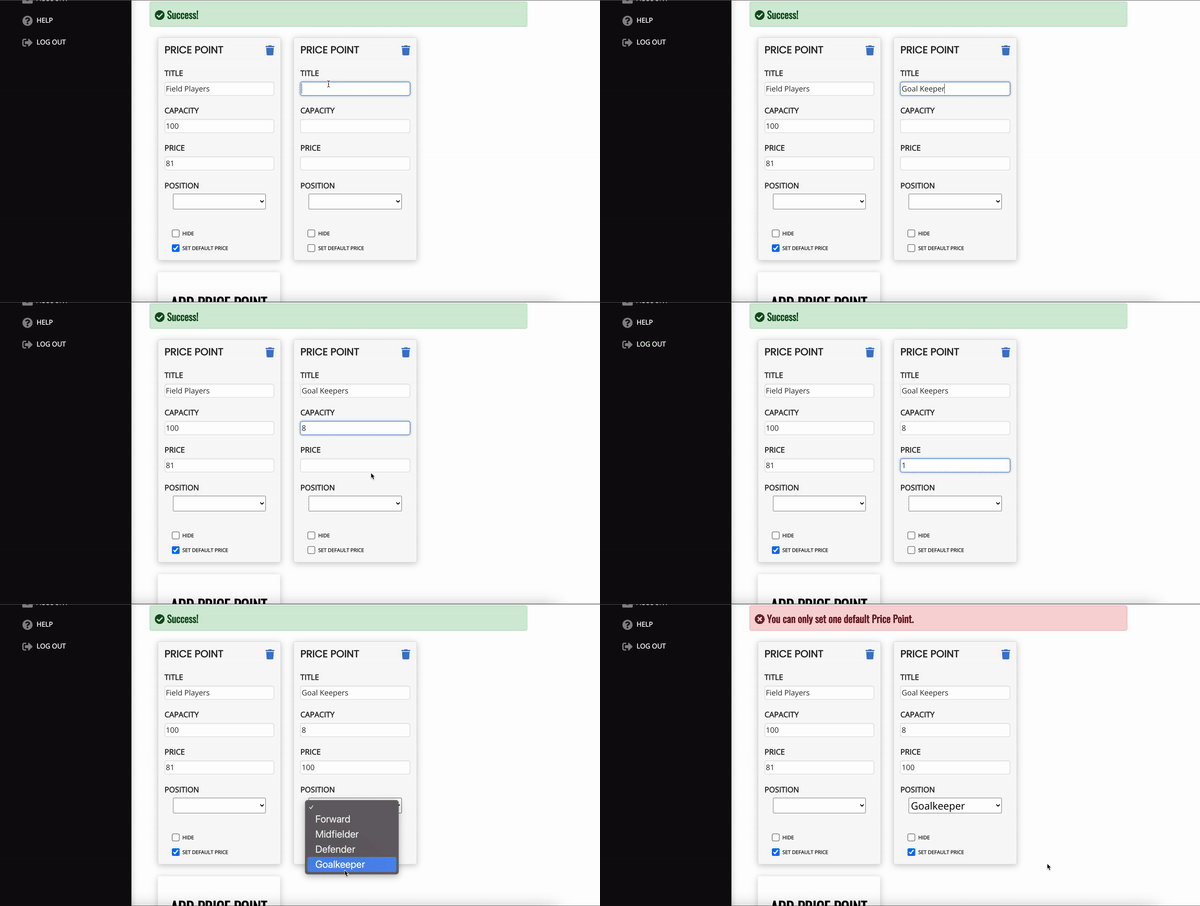
Price Points allows you to set prices and capacity limits for camps. You are able to limit registrants for positions by selecting the relevant position from the dropdown.
As every event is comprised of unique blocks of customers, we know it can be valuable to distinguish between different camper types. This gives you the ability to offer early bird pricing specials, set different prices for residential and day campers, or even classify by position (field player / goal keeper).
You are able to hide Price Points. This is useful for turning early bird pricing on and off as well as if you wish to close registration for certain positions.
Price points may be deleted freely prior to an event being published and until someone has registered using that price point.
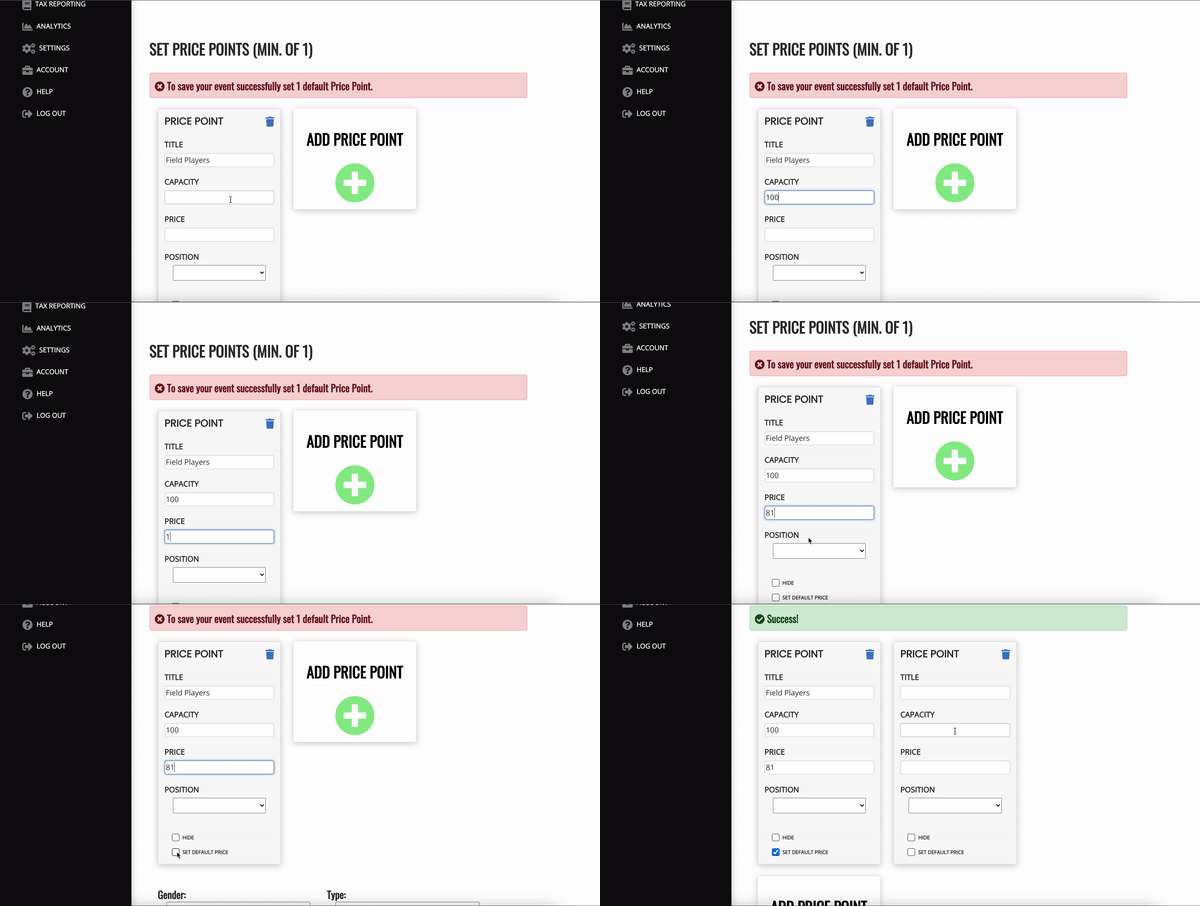
Setting Your Primary Price Point:
Only set one Primary Price Point.
This is the initial selection for users when they arrive at your event checkout page.
Setting a Position Specific Price Point:
Event Type:
Selecting the correct event type allows your registration to flow exactly how you want.
Event Type also ensures that your date is formatted properly on your website.
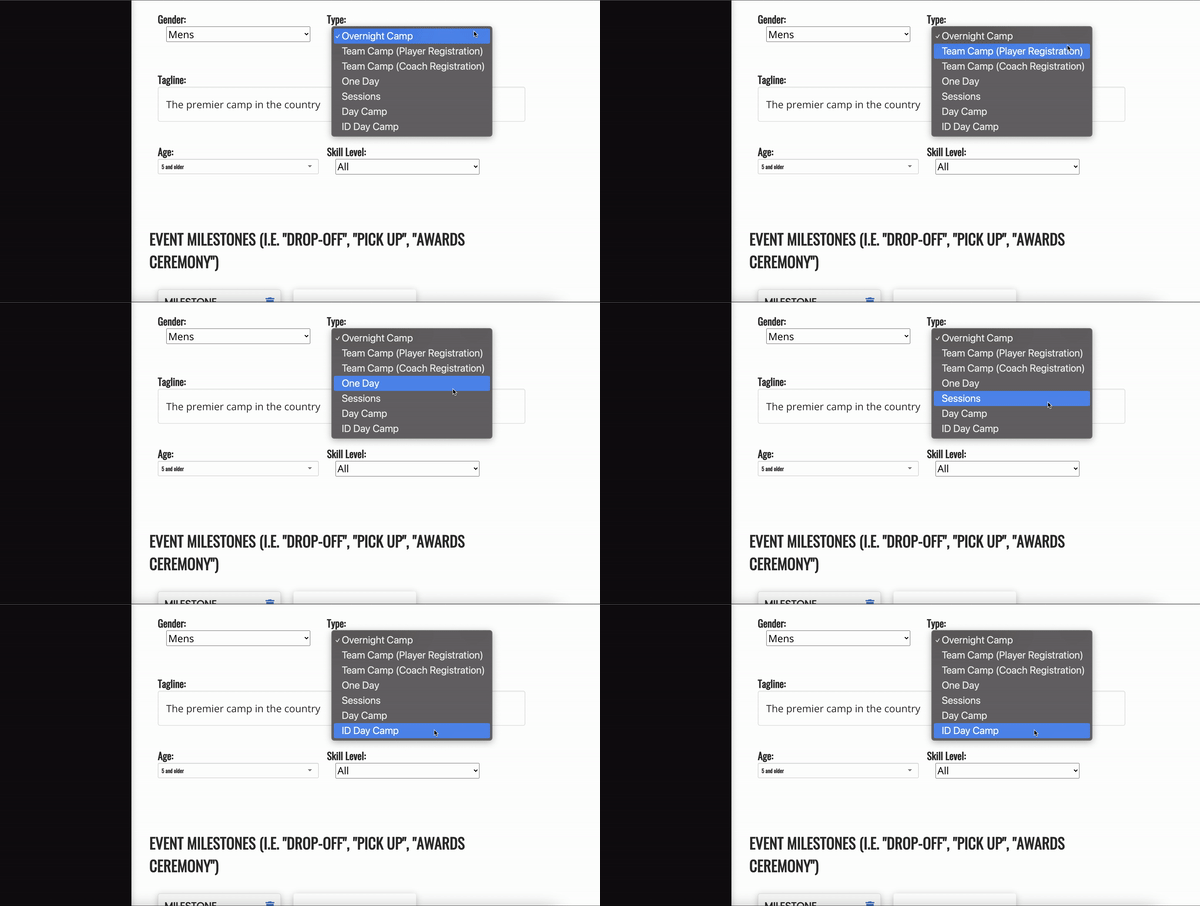
Overnight Camp / Traditional ID Camp:
Selecting this Event Type adds GPA/SAT/ACT score, graduation year and roommate preference fields to the event registration process.
The dates for your event should be continuous and last two or more days.
One Day:
Selecting this Event Type ensures your date is formatted correctly.
Sessions:
Select non-consecutive days.
Day Camp:
Useful when running a day event for younger kids and do not want to collect recruiting data points.
ID Day Camp:
Selecting this Event Type adds data collection for GPA/SAT/ACT Score and graduation year.
Ages:
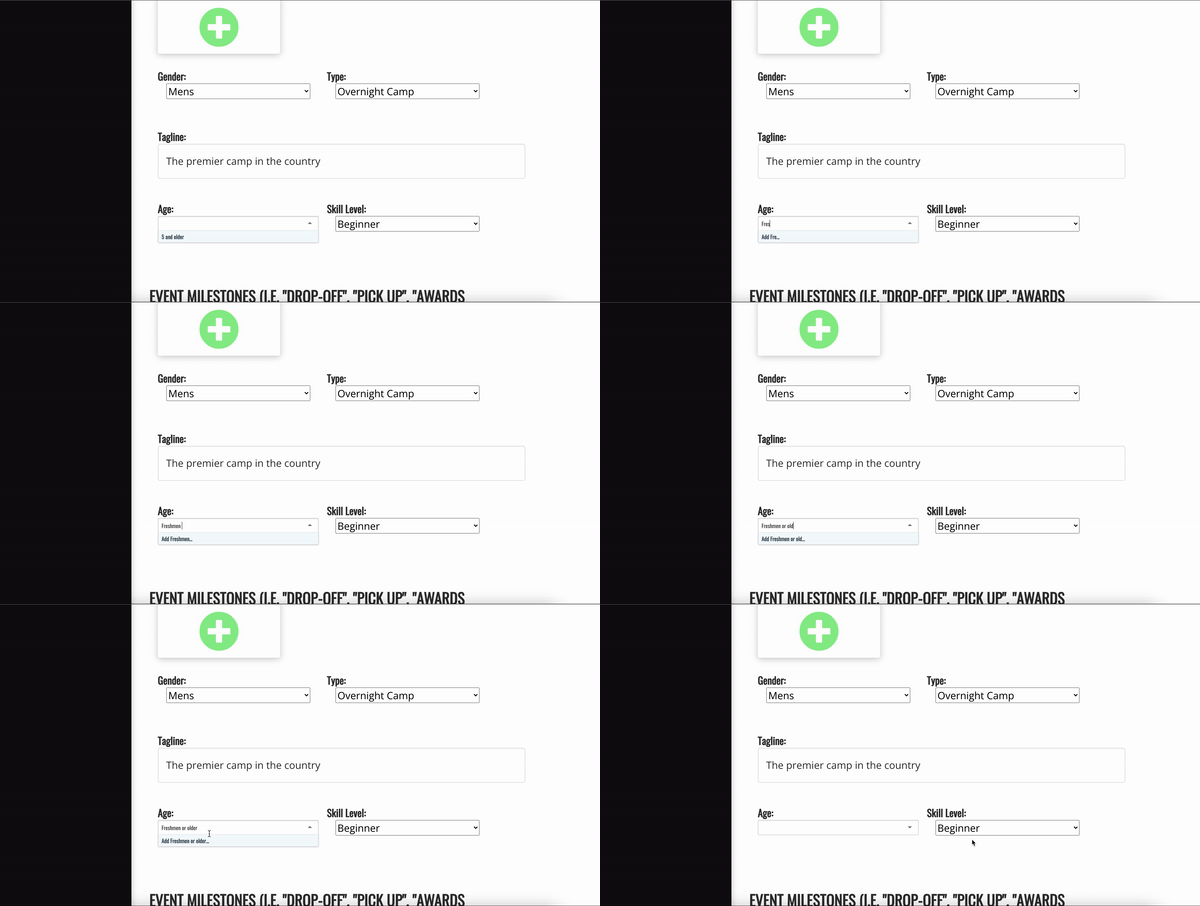
Our smart age select field allows you to add age related information to your event.
This field is designed to be as flexible as possible - simply type in whatever description you need and click the "Add" button below the field to add it to your event and save for future use.
Milestones:
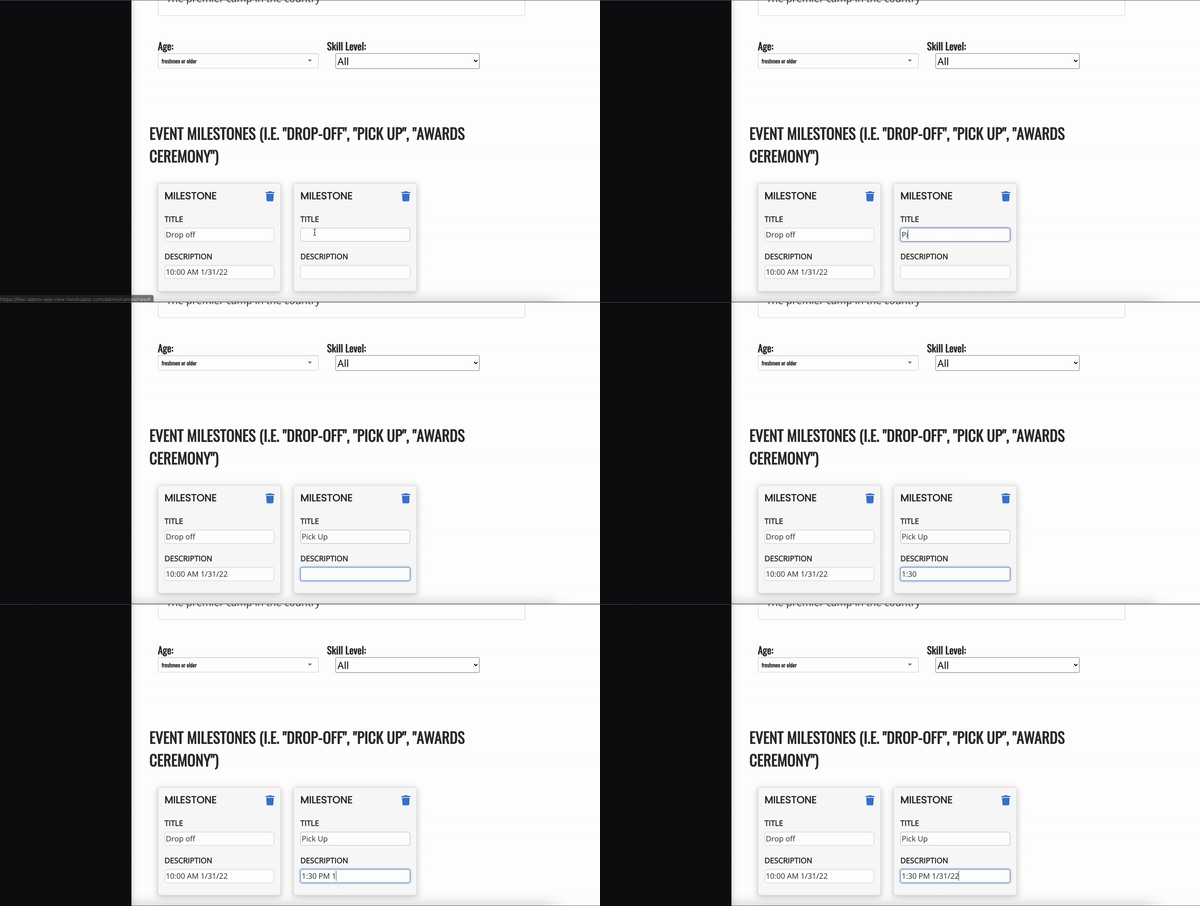
Milestones allow you to highlight specific points of information about your event.
Milestones appear on your Event pages above your Event Description.
Event Description:
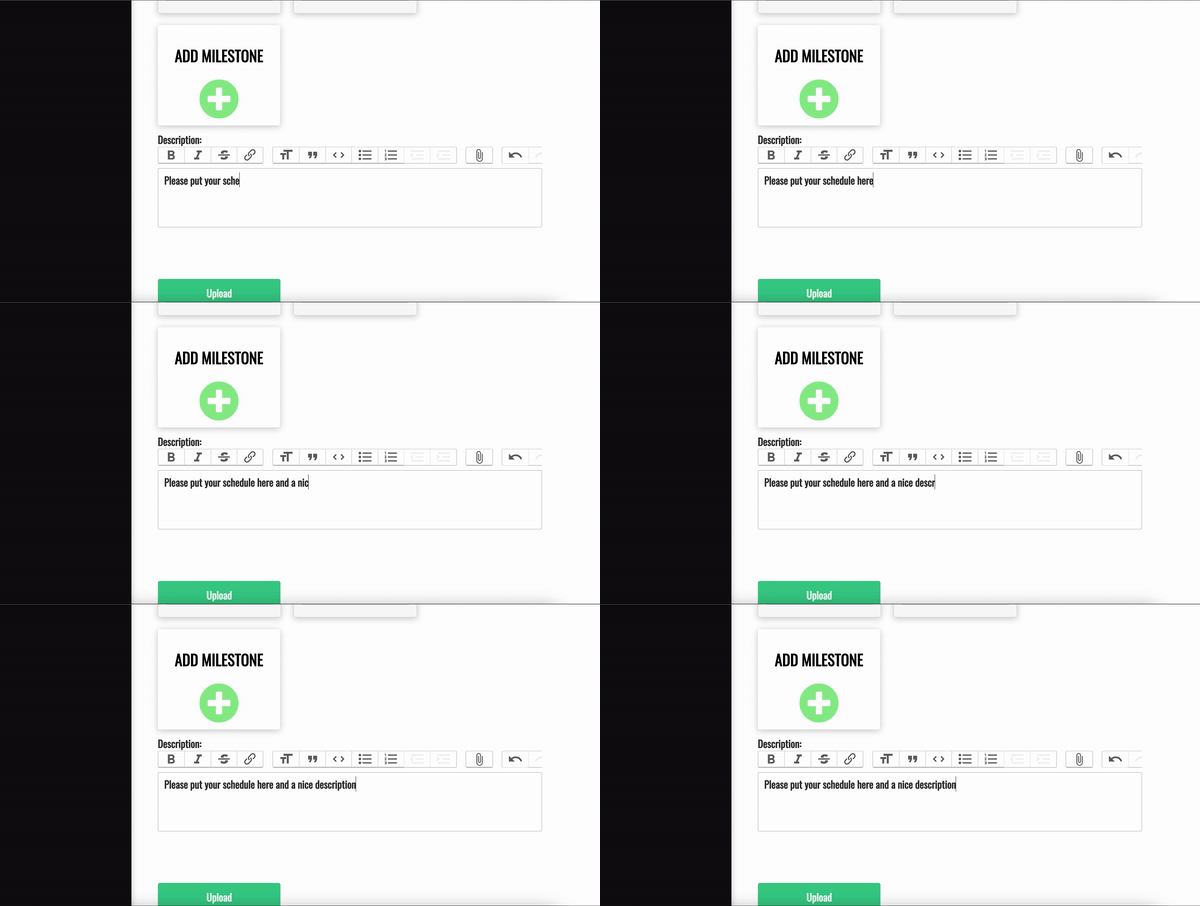
Event Description is where you should include more specific details about your event and why campers should attend. Market your product offering and provide important information like event schedule!
All Event Description information will be included in your registration confirmation email.
Event Photo:
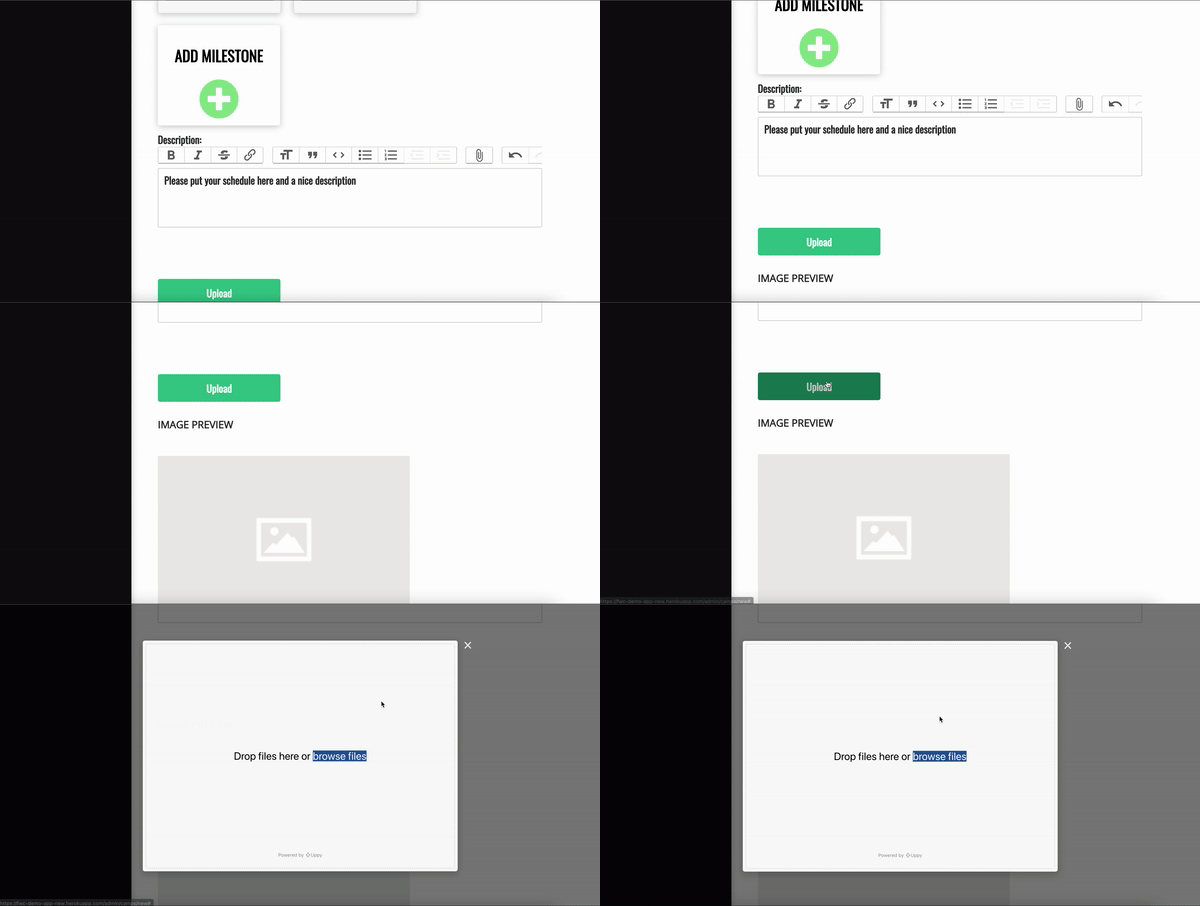
Upload a high-quality, event specific photo.
This image will display prominently above your camp page.
Manage Event-Specific Toggles:
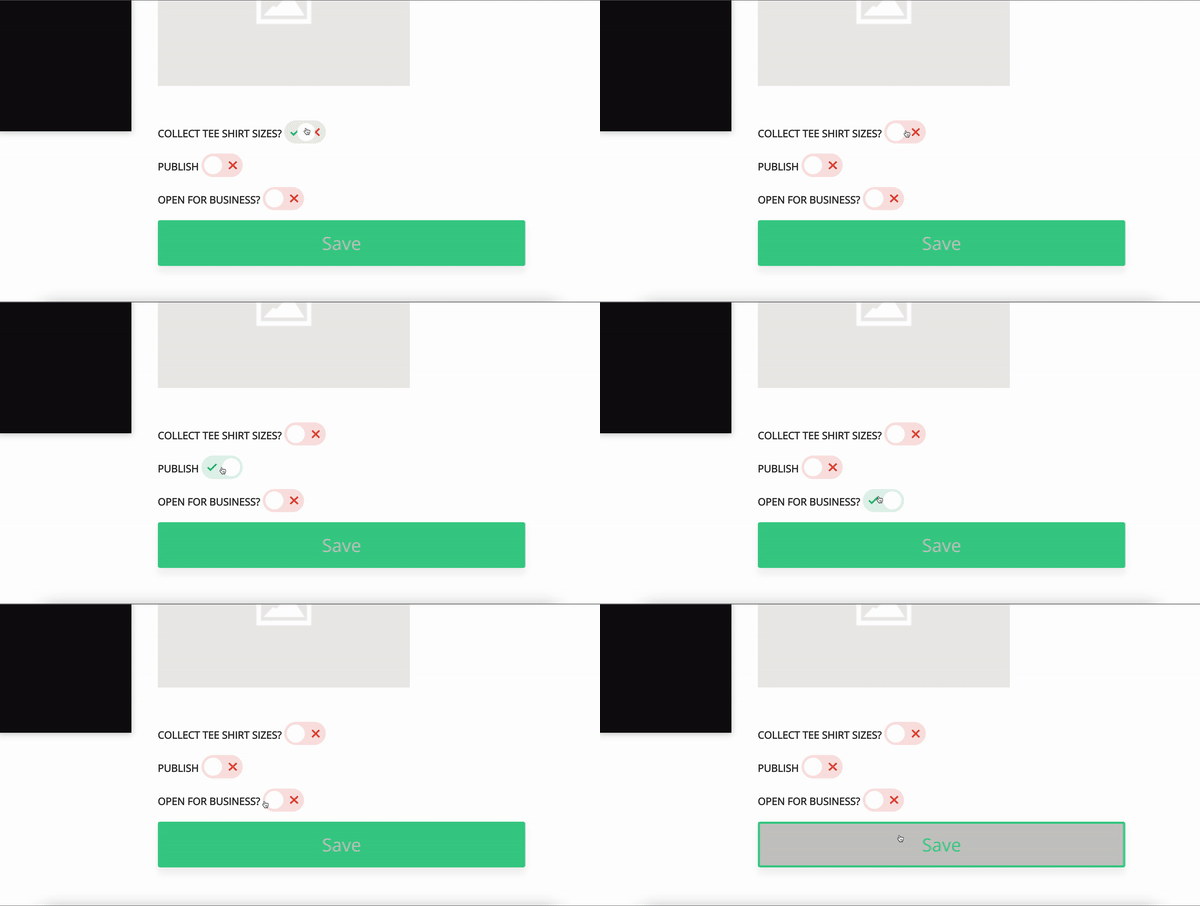
"Collect Tee Shirt Sizes?": Activation of this toggle turns on T-Shirt data collection.
"Publish": Activation of this toggle publishes your event to your Firewood site.
"Open For Business?": Activation of this toggle opens your event for registration.
